Revit No Check Box To Finish Roof

Yes No Graphic Presentations In Schedules

Missing Shape Editing Tool Autodesk Community Revit Products

How To Make A Window With Reveal Revit Architecture Revit Architecture Revit Tutorial Architecture

How To Manually Highlight Rows Within A Revit Schedule With Colour Micrographics Schedule The Row Highlights

Revit Tutorials Color Scheme Youtube

How To Create Wall Mount Handrail Revit 2018 Revit Bim Escadas
Either wall center wall core center wall core layer or wall finish.
Revit no check box to finish roof. This will put you back in sketch mode. Select the roof edge that will be the gutter edge. For gables do the same thing for 2 opposing roof edges. We will delve into great detail on each later on but to start let s look at the standard roof by footprint workflow.
Your roof now has a slope. To find out more about us visit our website. You also need to adjust the roof height to match the other roof. Hit the edit roof button.
If it can t be found after minimizing all windows try using the windows key d shortcut to show the desktop this sometimes brings up floating dialogs into the view. Create visual representation. You can move the roof from elevation view or change the offset value. Activate modify sub elements.
For hips same thing for all 4 roof edges. Modelling roofs is no different. After you finish with the lines open default 3d view. Check the defines slope paramater and give it a slope.
Locate the group edit panel and drag it back to the revit ribbon. The finish and cancel buttons are missing when in group edit mode the edit group ribbon panel is offscreen. Floor to ceiling wall niches revit element niche wall niche with elevation 0 floor to ceiling windows parapet 0 compute room areas at. You can drag any point in your roof and adjust the roof shape as you want.
We have implemented some advanced loadable families to easily model a roof in revit in detail. In this sample i only use one.

Placing Face Based Families In Revit Projects Projects Base Face

Glazing Thermal Properties In Revit And Insight Revit Products 2018 Autodesk Knowledge Network

Houston Cornice Autodesk Revit Architecture 2012 Families Urbim Revit Components Revit Architecture Autodesk Revit Architecture Model

Solved Revit Lt 2021 Issues With Realistic Printing Autodesk Community Revit Products

Slate Roof Gutter Detail Google Search Slate Roof Roof Detail Roof Construction

Revitcity Com Image Gallery Revit Family Outdoor Structures Gallery

1 Revit 3d Model Kerala Houses Design Revit Architecture

Pin By Yonina Burns On Tutorials Revit Tutorial Building Information Modeling Revit Architecture

Tips And Tricks To Make Your Revit Drawings And Presentations Look Great Autodesk University

Google Earth To Revit Topography With Texture Material Youtube Revit Tutorial Building Information Modeling Revit Architecture

Dynamo Tutorials Part Ii Creating Revit Elements For Dynamo Youtube Autodesk Revit Autocad Tutorial Revit Tutorial

Modern Glass Railing In Revit Part 2 Glass Railing Modern Glass Railing

Issuu Interior Design Using Autodesk Revit Architecture 2013 By Johann Hudtwalcker Inter Revit Architecture Interior Design Student Interior Design Software

Formwork In Revit With Dynamo Architecture Model Parametric Design Structure Architecture

Solved Aligning Level Heads Autodesk Community Revit Products

Revit Architecture Tutorials In Pdf Revit Tutorials Pdf Revit Tutorial Revit Architecture Revit Tutorial Architecture

Flat Roof Cover In Fibreglass By Bautech Construction New House At Knocknagoug Quin Co Clare Roof Construction Flat Roof House Flat Roof Covering

Roofs In Revit 8020 Bim
Https Encrypted Tbn0 Gstatic Com Images Q Tbn 3aand9gcrplf3jybqa68uaqyzrihxaodv2rr9mp 4b3kermrhizhkv0ton Usqp Cau

Revit 2017 For Formwork Shoring Or Pillar Revit Youtube Tutorial Revit Architecture Pillars Tutorial

Revit Tutorial Revit Architecture Revit Tutorial Building Information Modeling

Autodesk Revit Mep 2016 Tutorial Plumbing Autodesk Revit Plumbing Installation Plumbing

Galeria De Como Disenar Un Bano De Accesibilidad Universal Descarga Este Ejemplo Basico Modelado En Revit 2 Bathroom Plans Design Floor Plans

The View From Inside The Factory What S Next For Revit 2018 Revit

Revit Linked Model Visibility Control A How To Guide Youtube
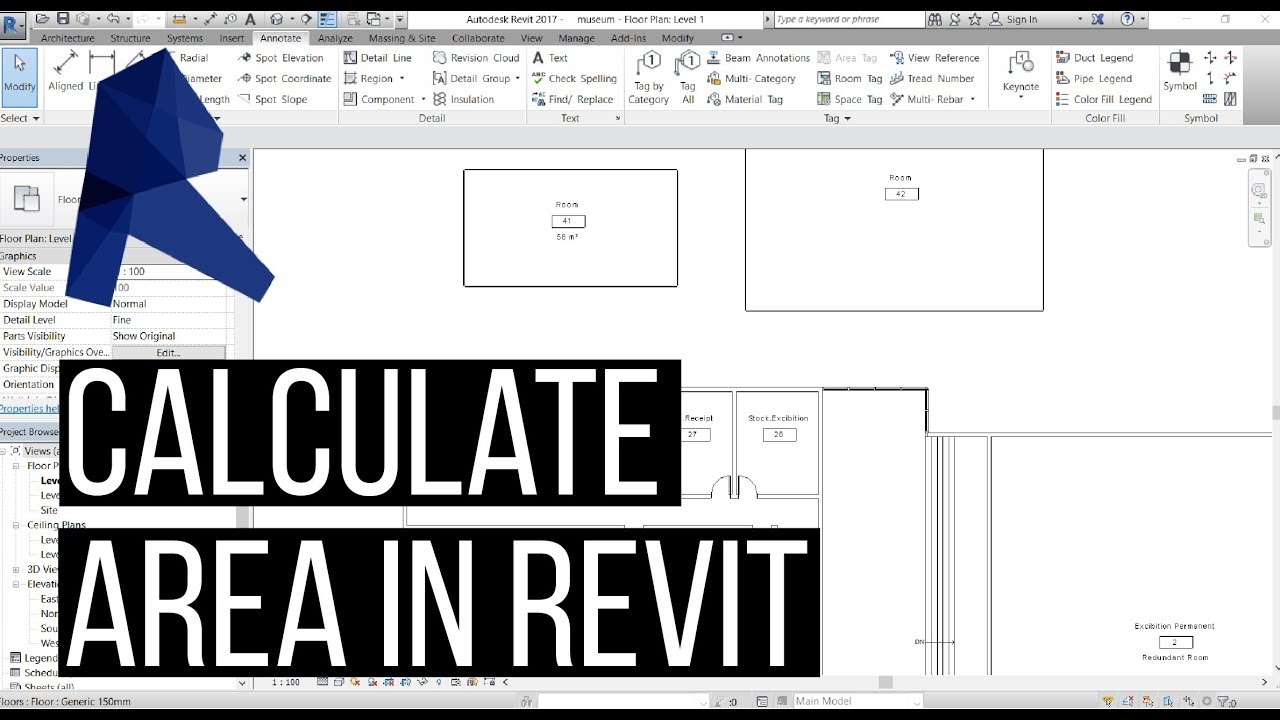
3 Ways To Calculate Area In Revit Tutorial Youtube
Intro To Revit Family Creation How To Create A Revit Family Step By Step

3d Contemporary Houses Revit Model House Architecture Design Architecture House Modern Architecture House

Autodesk Revit Creating Sheet Views Youtube

About Understanding The Energy Model Revit Products 2020 Autodesk Knowledge Network

Anguleris Blog Architecture Technology Construction Marketing

21 Sites To Download Revit Families For Free Arch2o Com Revit Architecture Building Information Modeling Architecture Design

Up The Ante Increase The Reliability Of Your Revit Model With Better Modeling Habits Autodesk University

Madison Project Update In 2020 Ceiling Decor Maine House Ceiling Beams
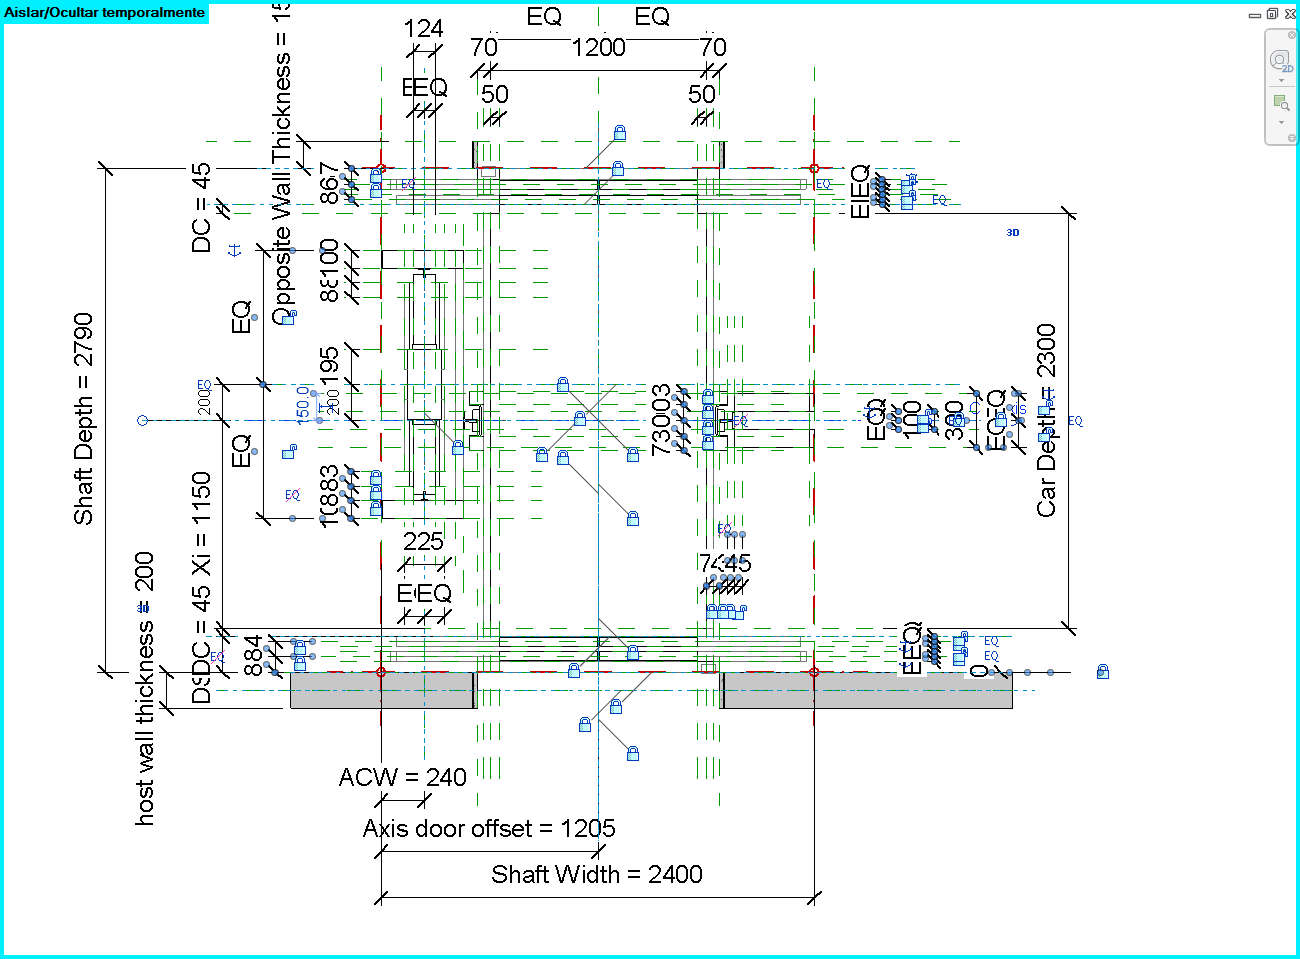
Complex Families In Revit Advanced Modeling And Configuration Modelical

Image Result For Metal Building Parapet Walls Roof Panels Metal Buildings Parapet

Electrical Families Modeling And Configuration In Revit Modelical

7 Modern Bedroom In Revit Tutorial Interior Design In Revit Youtube Good Basics On Creating Materials Using Modeled Components And Voids Then Rendering In 2020

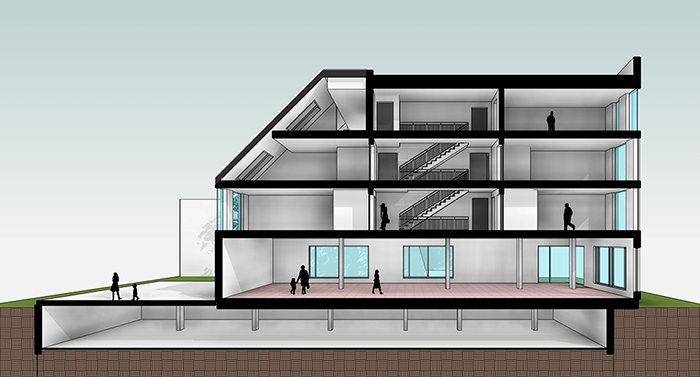
Exploded Axon With Perspective Interior Architecture Drawing Architecture Drawing 3d Model Architecture
8 Tips To Create Beautiful Drawings In Revit Revit Pure

House Morran By Johannes Norlander Arkitektur With Images Wood Roof Structure Roof Architecture Roof Detail

21 Iceskatingrink Jpg 1125 1534 Interior Design Drawings Architecture Graphics Architecture Drawings

