Revit 2018 Modify Extruded Roof
How To Cut A Hole To A Roof Revit Lt 2018 Autodesk Knowledge Network

Customize A Roof Assembly In Revit Youtube

Revit Tutorials Roofs Youtube
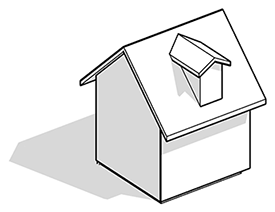
Create A Dormer Opening In A Roof Revit Products 2018 Autodesk Knowledge Network

Solved Roof Is Drawn Higher Than Level Placed At Autodesk Community Revit Products

Revit Roof By Extrusion A How To Guide Youtube

The wall must be attached to the target roof and the target roof must be a footprint roof.
Revit 2018 modify extruded roof. Sketch the profile of the roof as an open loop. Edit the roof sketch double click the roof or select the roof and click modify roofs tabmode panel edit footprint or edit profile. Create roof by extrusion by footprint and modify roof. Sets the level for the footprint or extruded roof.
This is a general. If not selected it means the roof is not part of a room boundary. You cannot join a roof to more than one top face of another roof. To view the extrusion open a 3d view.
Modify a roof after creating a roof you can change its shape or overhang cut openings or align ridges. If you want to change the position of the roof use the properties palette to edit the base level and offset properties to change the position. Create roof by extrusion by footprint and modify roof. To assign a solid extrusion to a subcategory under identity data for subcategory select a subcategory.
Using the reference plane you can control the position of the extruded roof in relation to a level. Click modify create extrusion tab mode panel finish edit mode. You can join a roof to the top face of another roof and the wall below that roof if you select the wall as the target. To raise or lower the roof from the reference level specify a value for offset.
Roof slope you can define the slope of a roof using. If selected it means the roof is part of a room boundary. This property is read only before creating a roof. Create a roof by extrusion creates a roof by extruding a profile that you sketch.
Join roofs you can join roofs to other roofs or walls or unjoin them if they were previously joined. Revit places a reference plane at the specified offset. The work plane with which an extruded roof is associated. Revit completes the extrusion and returns you to the view in which you started the extrusion.

Solved Roofing Woes Autodesk Community Revit Products

Revit Roof Basics 10 Slope Arrow Cadclips Youtube

Revit Roof Basics 04 Intersect By Roof Join Cadclips Youtube

10 Common Roof Shapes Modeld In Revit Tutorial Youtube

Family Component Extrude Y Lock Profiles Extrude Create Forms Floor Plans

Best Way To Cut Roof Autodesk Community Revit Products

Solved How To Create A Roof With Different Levels Autodesk Community Revit Products

3 Complex Roof Shapes In Revit Youtube

Revit Roof Series Part 2 Roof By Extrusion Youtube
9 Tips To Understand Revit Roofs Revit Pure

Revit Roof Tip 6 Add Vertical Or By Face Opening Youtube
Solved How To Change The Colour Of Generic Roof From Green To Other Autodesk Community Revit Products

Solved Roof Overhang Overlap Single Sketch Autodesk Community

Revit Tips Join Roof Dormer Opening Youtube

Solved Drawing A Complex Roof In Revit Autodesk Community Revit Products

Solved Roof Won T Join Autodesk Community Revit Products

Roof Framing Extension Autodesk Revit Structure

Autodesk Revit Levels Explained Bimscape Autodesk Revit Revit Architecture Autodesk
Https Encrypted Tbn0 Gstatic Com Images Q Tbn 3aand9gcqt Jag1pa Hofhz 59fqg8i0feamtfelr0xlmsrdq6chiqvxbg Usqp Cau

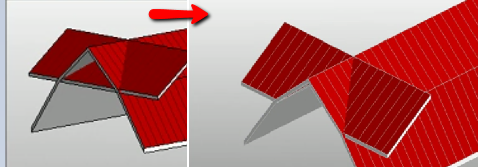
Revit Roof Cleaning Up Overlapping Roofs Youtube

Revit Roof Finishing Adding Soffit Fascia Gutter Youtube

Solved Compound Roof Wrapping Autodesk Community Revit Products

Create Roof Trusses With Purlins In Revit Youtube

Revit Tips Easy Louver Window Making Louver Windows Revit Tutorial Architecture Program

Solved Extruding A Roof With Different Slopes And Thickness In Both Directions Autodesk Community Revit Products

Solved Roof Doesn T Meet Autodesk Community Revit Products

Solved Attached Wall To Roof Problem Autodesk Community Revit Products

Revit Keyboard Shortcuts Vert Keyboard Shortcuts Revit Tutorial Autocad Revit

Watched Advanced Revit Architecture 2014 Tutorial Applying Walls To The Mass Youtube Revit Tutorial

Solved Roof With 2 Different Slopes Autodesk Community Revit Products

Revit Sloped Glazing Youtube

Revit Tips Spanish Roof Adaptive Insane Version Revit Tutorial Autocad Revit Roof

Curtain Wall Detail Bing Images Curtain Wall Detail Roof Detail Brick Veneer

Revit Roof Tip 1 Remove Slope To Create Flat Roof Youtube

Revit Roof Sample File Revit Products 2018 Autodesk Knowledge Network

Revit Roof By Face A How To Guide Youtube

Creating Extrusion Roofs

How To Create A Kitchen In Revit Architecture Revit Architecture Architecture Program Architecture

Fascia Profile Hack For Showing Corrugated Metal Deck In Revit Youtube Metal Deck Corrugated Metal Fascia
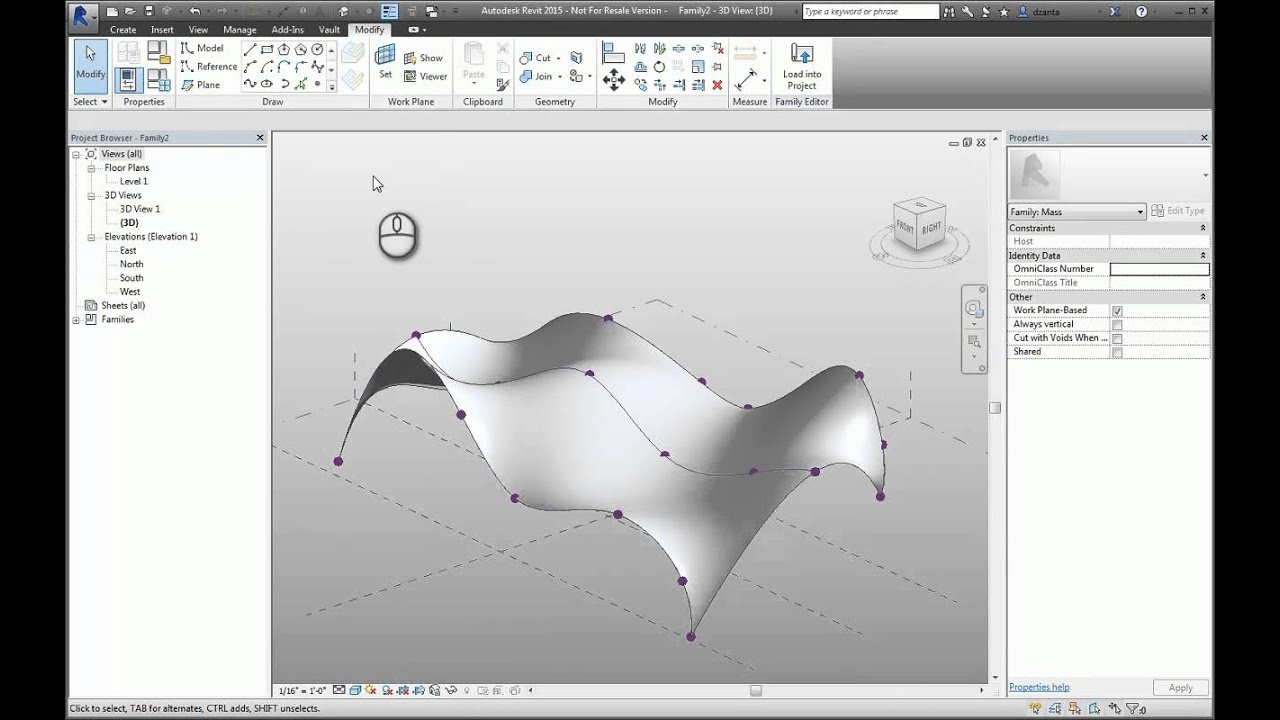
Revit Conceptual Massing Environment A How To Guide Youtube

Solved Ceiling To Pitched Roof Junction Autodesk Community Revit Products

Revit Roofs In Conceptual Massing Youtube

